

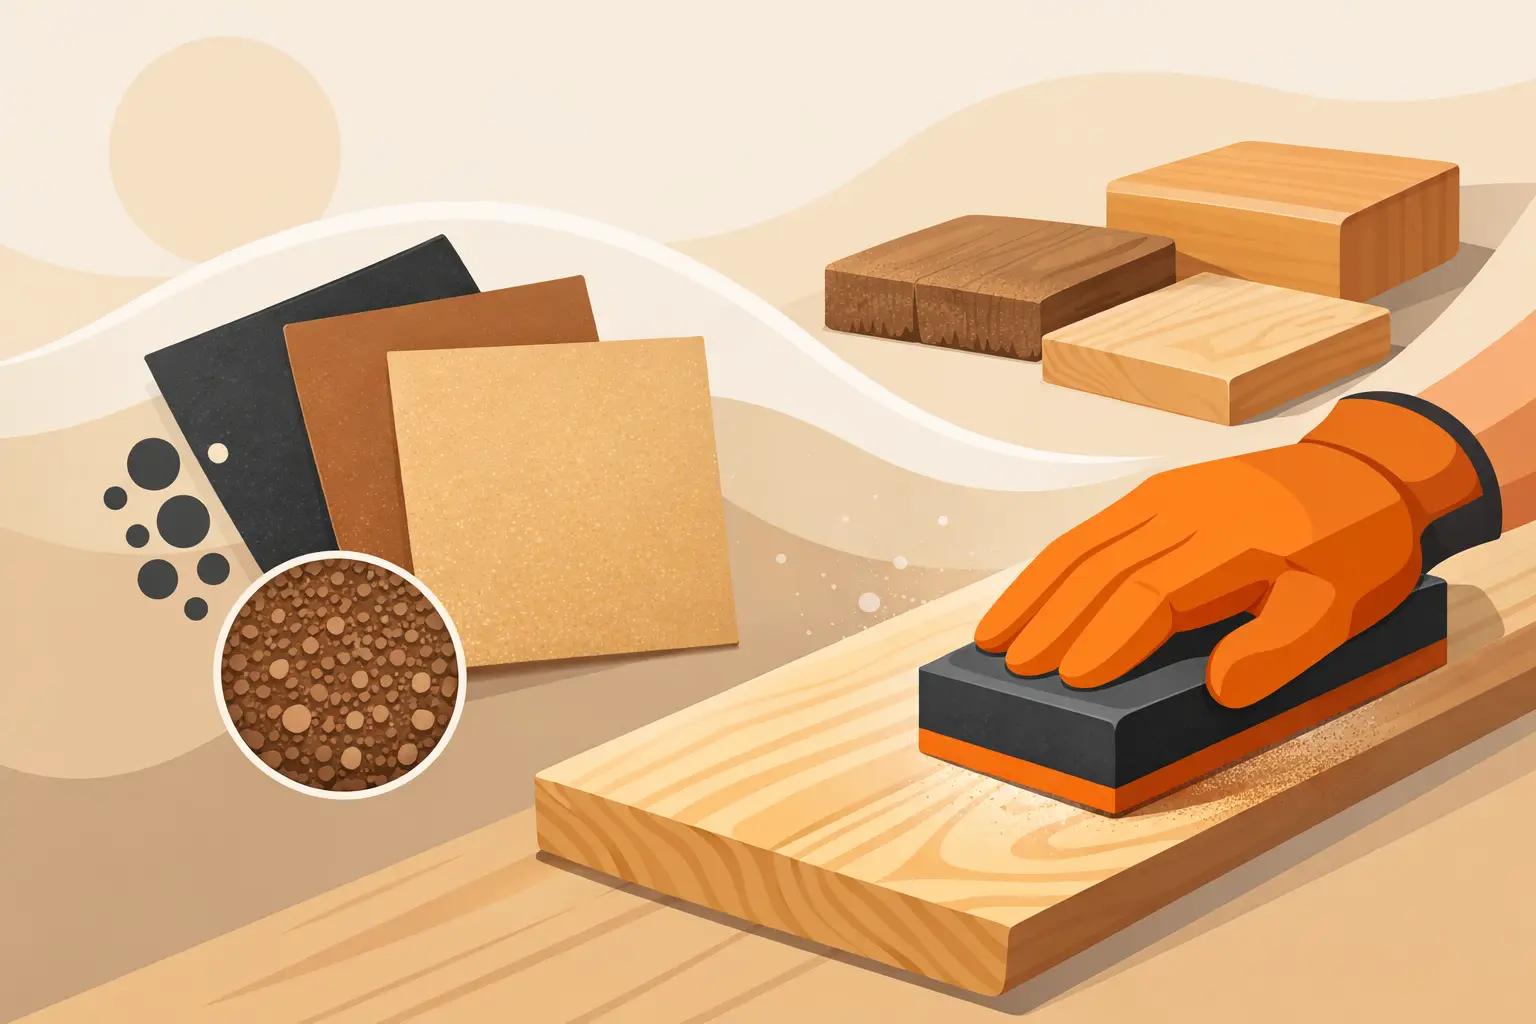
Grit by Grit: Flawless Finish
Grit by Grit: An Abrasive and Surface-Prep Supply Plan for a Flawless Finish
Every great paint job is built on a surface you never see. Long before the basecoat goes down, the quality of the finish is already decided by how the panel was sanded, cleaned, and prepped. Shops that chase paint defects after the fact are usually fighting a problem that started two grits too coarse. The fix is not a better clearcoat; it is a disciplined abrasive and prep supply plan.
Legacy Coatings supplies prep materials to collision and refinish shops across Western Canada, and the shops with the cleanest finishes almost always have the most deliberate approach to abrasives. They do not just buy sandpaper; they plan a grit progression and keep it stocked.
Why Grit Progression Decides the Finish
Sanding is a sequence, not a single step. Skip a grit and you leave scratches too deep for the next paper to erase, so they telegraph straight through the topcoat. Jump too fine too soon and you waste time and abrasive without actually cutting the surface. The right progression removes the previous scratch pattern at each stage, leaving a uniform surface the coating can grip.
Coarse to Fine, Without Gaps
A typical repair moves from aggressive cutting grits for shaping and filler work, through medium grits for leveling, to fine grits for final prep before primer or sealer. The exact numbers depend on the substrate and the coating, but the principle never changes: each step erases the one before it. A practical sandpaper grit guide is the fastest way to lock that sequence into your shop's habits.
Dry, Wet, and Where Each Belongs
Dry sanding with proper extraction keeps the surface clean and the paper cutting. Wet sanding shines for final finishing and denibbing. Knowing which to reach for, and keeping both stocked, prevents the improvisation that leads to inconsistent prep.
Stocking the Prep Shelf With Intent
The problem with abrasives is that they run out mid-job, and a shop that is out of one critical grit will substitute whatever is close. That substitution is where defects enter. A planned prep shelf keeps the whole progression on hand at once.
Build Around Your Real Work
If your shop does heavy collision work, you burn through cutting grits. If you do more refinishing and detailing, fine grits and finishing materials dominate. Matching your stock to your actual job mix is the difference between a shelf that supports production and one that interrupts it. Legacy Coatings helps shops set up surface-prep supplies and abrasives around the work they really do.
Prep Is More Than Paper
Abrasives are only part of the story. Cleaners, tack rags, masking, and the right fillers all belong to the prep stage. A surface that is sanded perfectly but not cleaned properly still rejects coating. Keeping the full prep kit together prevents the clean-step shortcuts that cause fisheyes and adhesion failures.
From Bare Substrate to the First Coat
The final prep decision is what goes on next. Primer, sealer, and surfacer each solve a different problem, and matching the product to the prep work you just did is what makes the coating bond. If you are ever unsure which to reach for, choosing between primer, sealer, and surfacer clears up where each one belongs in the sequence.
Let the Prep Dictate the Product
A heavily worked repair with exposed substrate wants a different primer strategy than a lightly scuffed panel headed for a sealer. Reading the surface and matching the product is the last link in a prep plan that started with the very first grit.
Frequently Asked Questions
What happens if I skip a grit in the sanding sequence? You leave scratches too deep for the next, finer paper to remove, and those scratches show through the topcoat. Each grit is meant to erase the pattern from the one before it, so skipping steps undermines the whole finish.
How do I know which grits to stock? Match your stock to your job mix. Heavy collision work consumes more cutting grits, while refinishing and detailing lean on finer grits and finishing materials. Stocking the full progression prevents mid-job substitutions.
When should I wet sand versus dry sand? Dry sanding with extraction keeps the surface clean and the paper cutting during shaping and leveling. Wet sanding is best for final finishing and denibbing. Keeping both available avoids improvising.
Why does my paint still show defects after careful sanding? Often the issue is cleaning, not sanding. A perfectly sanded panel that is not properly cleaned with the right solvents and tack rags can still reject coating, so prep includes more than abrasives.
How do I choose between primer, sealer, and surfacer? Match the product to the prep work. Exposed substrate and heavy repairs call for different strategies than a lightly scuffed panel. The right choice depends on what the surface needs to bond correctly.
A Finish Is Only as Good as Its Prep
The flawless paint jobs that win customers are decided long before the booth. A planned grit progression, a fully stocked prep shelf, proper cleaning, and the right primer or sealer turn surface prep from a gamble into a repeatable process. Legacy Coatings supplies the abrasives and prep materials that let shops across Western Canada build that finish from the substrate up.